Showing posts with label threading. Show all posts

Friday, 30 November 2012

Very simple snowman garland


We have made a very simple garland together ready for Saturday when we decorate! This is a simple idea and apologies that there are not many pictures as I did not think I was going to post this.  However, I thought that many would like this idea as it is simple to make and a nice decoration. All you need is paper plates, string. straws, orange card or felt then a black felt.

Little Boo added a nose by cutting out some orange card. We then drew on the rest of the face. When the plates were completed Little Boo cut up some straws.  These straws were then used to thread in between the plates.

This was a great idea to practice threading and cutting.  To make it easier I wrapped some sellotape around the string as it was fraying making threading challenging. After this there were no problems. Hope that you like the idea.

Thursday, 22 November 2012

The start of Christmas Craftiness!- Our ball ball wreath


I have decided that it is about time that I started to share with you the Christmas crafts.  Apologies to readers who do not celebrate Christmas. I have been doing lots of cooking with Little Boo just recently so have decided to post these ideas as well alongside.  This year it is brilliant as Little Boo is capable of doing so much more than last year! Her attention span has increased, she can use scissors better and even starts to suggest what we could do.  I will make sure to add in what we did last year when I open up the decorations box.

First I am sharing with you our ball ball wreath.  I saw this posted on Pinterest and just had to have a go at making it with Little Boo.  All you need to have is


  • Hot glue gun
  • 80 or so ball balls (you could upcycle some that are no longer used for the tree,this is the cheaper option, we brought ours from the £1 shop 12 for £1)
  • wire coat hanger/thick wire


First of all you need to secure the ball ball and hanger with hot glue.  I did this part of the activity whilst watching the Television (I was also procrastinating from writing my assignment, whoops). 


After this I got the wire coat hanger (thanks to my mother in law) and bended it into a circular shape.  Then it was just a case of getting Little Boo to thread the ball balls onto the hanger.


There was no specific order or anything just go for it! It really made me realise how much she has developed her fine motor skills. It was nice as we were chatting as we were doing the activity about Christmas and Santa then about the colours that we were using.  It was funny as Little Boo still has a Mommy and a Daddy one for everything! so many of the ball balls were placed on in that way one Mommy then a Daddy then the baby ones. Anyway after this, I just (well my husband actually, I am weak) twisted the coat hanger back together.


We added a ribbon at the top and there you go a wonderful wreath for your house.  Many people who make these use ball balls that have been in the family for a long time as a way of showing them off in a nicer way than putting them on the tree.  Anyway I love ours even if the ball balls were only cheap, it would also make a fantastic gift for someone at Christmas.

Tuesday, 4 September 2012

Busy bags 4


Little Boo loves Charlie and Lola so I was really pleased when I found this dress up game on Cbeebies website. I coloured In the images but older children would probably enjoy doing this themselves. I then laminated it ready for use. This game was never intended for use as a travel game but rethinking the idea and having used it (in the car) I think I needed to add some magnets onto the pieces if we intend to use it as a travel game again. It was good fun but the pieces were slipping everywhere in the car which got frustrating.


There are some other busy bag items which I brought all rather cheap. The first a small magnetic sketch board. A Mr potato head where you attach his facial features. This was a good game to learn where parts of the face go using a lot of position words to explain as Little Boo was playing. The last brought item is shoe lacing.


As mentioned earlier on the blog I wanted to make Little Boo some more threading cards with all the letters of her name. I have done this as a busy bag idea and it has worked well. I am hoping this will help with learning the letters of her name.      


Monday, 3 September 2012

Busy bags part 3


The next three busy bags that I am sharing with you are threading inspired. I am sure some of you may have seen our post on the Sellotape reel threading. For this I created a threading game for Little Boo out of Sellotape reels. These are great to transport as all is needed is the reels and threading material. Little Boo loves threading so this always keeps her happy and busy.


Another threading bag just contains coloured beads and some pipe cleaners that are the same colours as the beads. The idea is that the beads can be matched to the same colour pipe cleaner. However, Little Boo also enjoyed just twisting the pipe cleaners around each other as well or just making mommy pretty bracelets.


Button practise is the next busy bag this was inspired from tried and trues post on busy bag swaps.  It is simple to make and cheap as I already had loads of felt. The idea is to improve skills with using a button. Little Boo can use the button to put the felt shapes onto the ribbon. This was easy to make and can be used for pattern making and/or colour recognition. Little Boo enjoyed this as I started to make it more and more challenging with the patterns. The only problem was that the felt holes will stretch so be careful when little one is using this especially if they get frustrated if they can not button one on.


Hope that you liked these ideas there are a few more tomorrow :) 

Saturday, 25 August 2012

learning the letter b


Today we have been learning the letter b in a very messy and fun way! I hope that you like some of the ideas.

We have been trying out masking tape resist painting.  This is basically where you place masking tape in an area where you do not want there to be paint. It works wonderfully as Little Boo could just go crazy with the paints and then like magic when the paint was dry a letter b appears when the tape is peeled off.

Masking tape resist painting

The letter b completed 

I also made a letter b template this was to draw around but Little Boo had other ideas and we used it as a stencil instead.


Recently we made salt dough letters using the play dough cutters so have painted some of these to place in the initial sounds tub.


Little Boo loves anything to do with threading so I quickly made this threading letter b. I was really pleased that she enjoyed it so much.  It was really simple to make I just used mount card and my crop-a-dile to make the holes. Little Boo is using some shoe laces for threading which Nanny picked up from the £1 shop. This could be a brilliant busy bag idea I think.

letter b threading card

toddler letter b threading card

Little Boo did a great job after showing off her handy work to Daddy she had to show him how she did it. 

I found loads of inspiration through Pinterest (which I am addicted to).  Firstly thank you to Hands on as we grow for this wonderful alphabet maze idea .  We just tweaked the idea slightly as Little Boo has not yet learnt all the alphabet.  We used the idea but used only the letters we have covered (those in her name) and set it up like a bus stop idea where the bus had to "go to letter a" then it had to go to letter s etc. It worked more as a letter recognition game this way.  My worry dolls also made great passengers that were counted on the bus.


From Pinterest I found  DIY letter blocks idea from Simply Real Moms  this shows the uppercase  letter building but after a bit of searching I found the lowercase letter templates on Tired, need sleep thank you so much for this great template as it saved me so much time!  These templates took minutes to print and cut out.  I decided to cut them out of fun foam as they can then be used in the bath or on windows around the house.


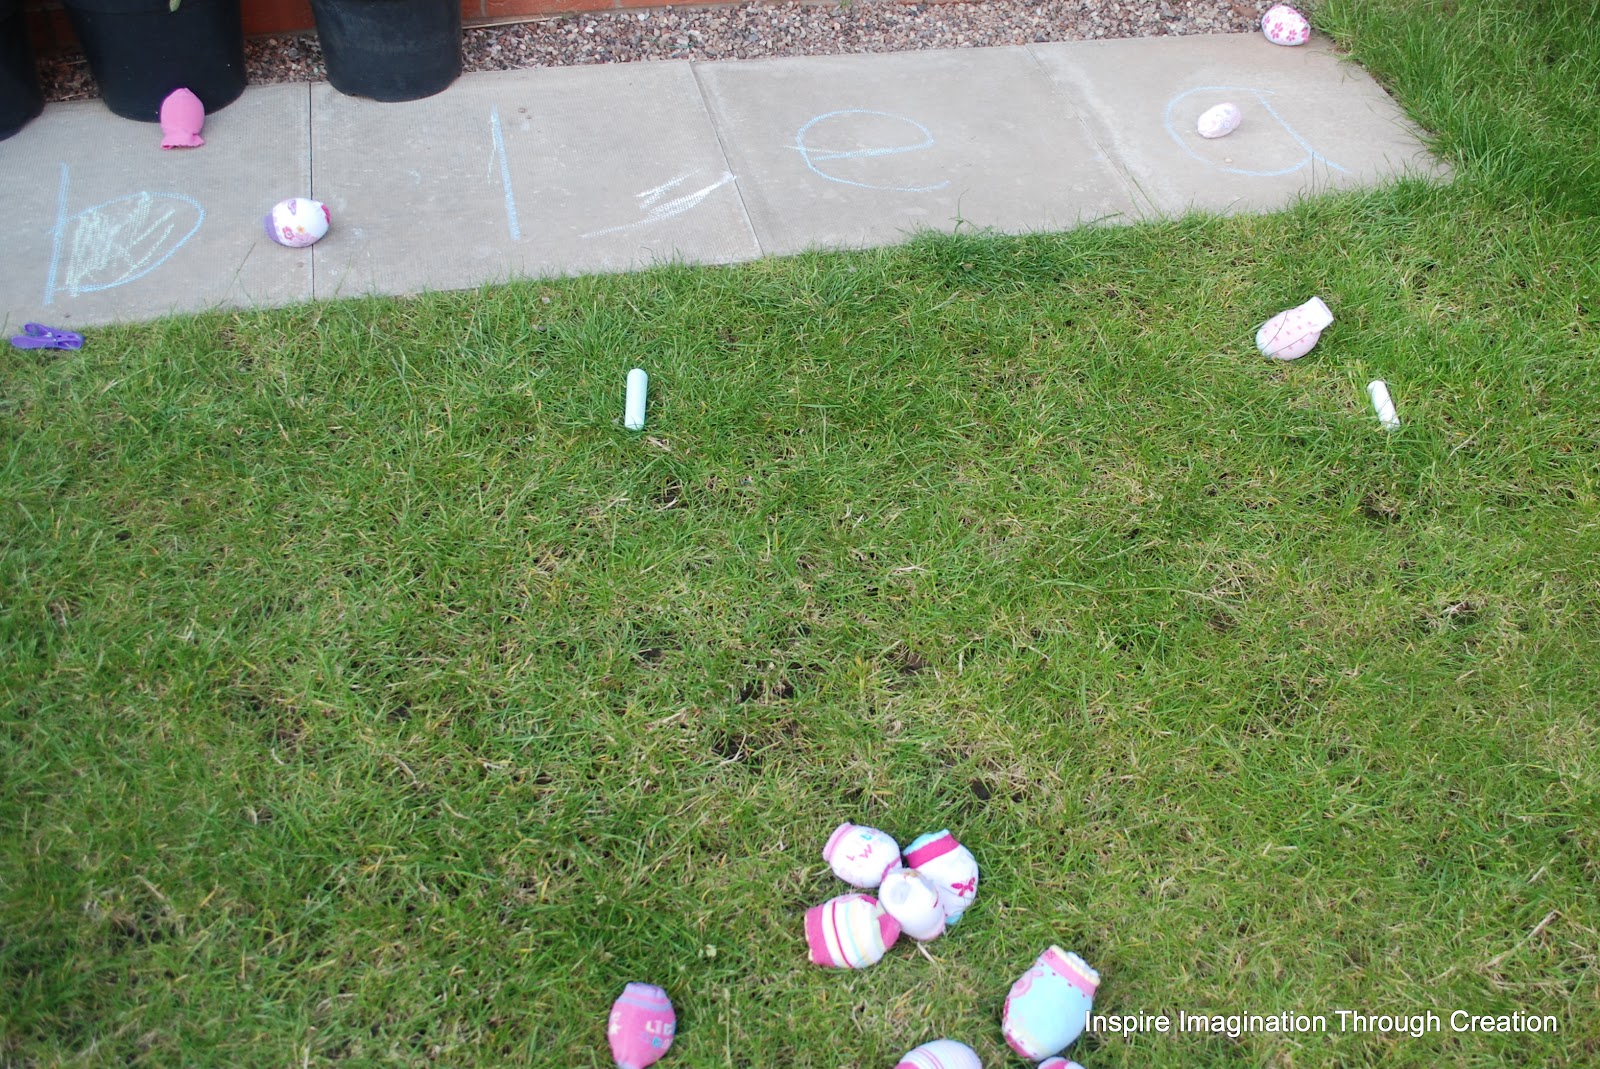
Thought I may mention again the alphabet game which was on our No more odd socks post.  This is a game whereby the child throws a ball or in our case the odd sock balls we had made at the letter that is shouted out.

Learning letters the letters are written in chalk on the slabs. 


Not forgetting our initial sound tub which this week consists of a bobble, the letter b (salt dough), a toy bear, toy bus, toy banana, small ball and a massive button donated from my Mom.

I have set up a Pinterest board all about learning letters please feel free to follow.  Hope that you all have a great weekend.


Sunday, 5 August 2012

Making a wind chime


Me and Little Boo have been busy today making a wind chime. I thought this would be a great idea as we have some old keys and had a BBQ for our wedding anniversary yesterday (5 years already!) so had lots of bottle tops to use up! I was unsure whether this would work out but have been happy with the results so we thought we would share it with you.

To do this activity you will need


  • A plastic plant pot with lots of holes in the bottom 
  • stickers and lots of them!
  • old keys 
  • bottle tops 
  • permanent markers 
  • wool or fishing line 
  • to make the holes in our tops we used my crop-a-dile  but you could use a hammer and nail

First we stuck loads of stickers all over the pot bearing in mind that the holes will be at the bottom of the wind chime.  I wish that I had initially covered the hole pot with some sparkly contact that I have this way none of the original brown would be showing but the result was still pretty.

The Little Boo wanted it sparkly, not being one to hinder her creative ideas we made up some sparkly glue and placed it all over the pot.  I later thought that this would probably help to seal the stickers to the pot.


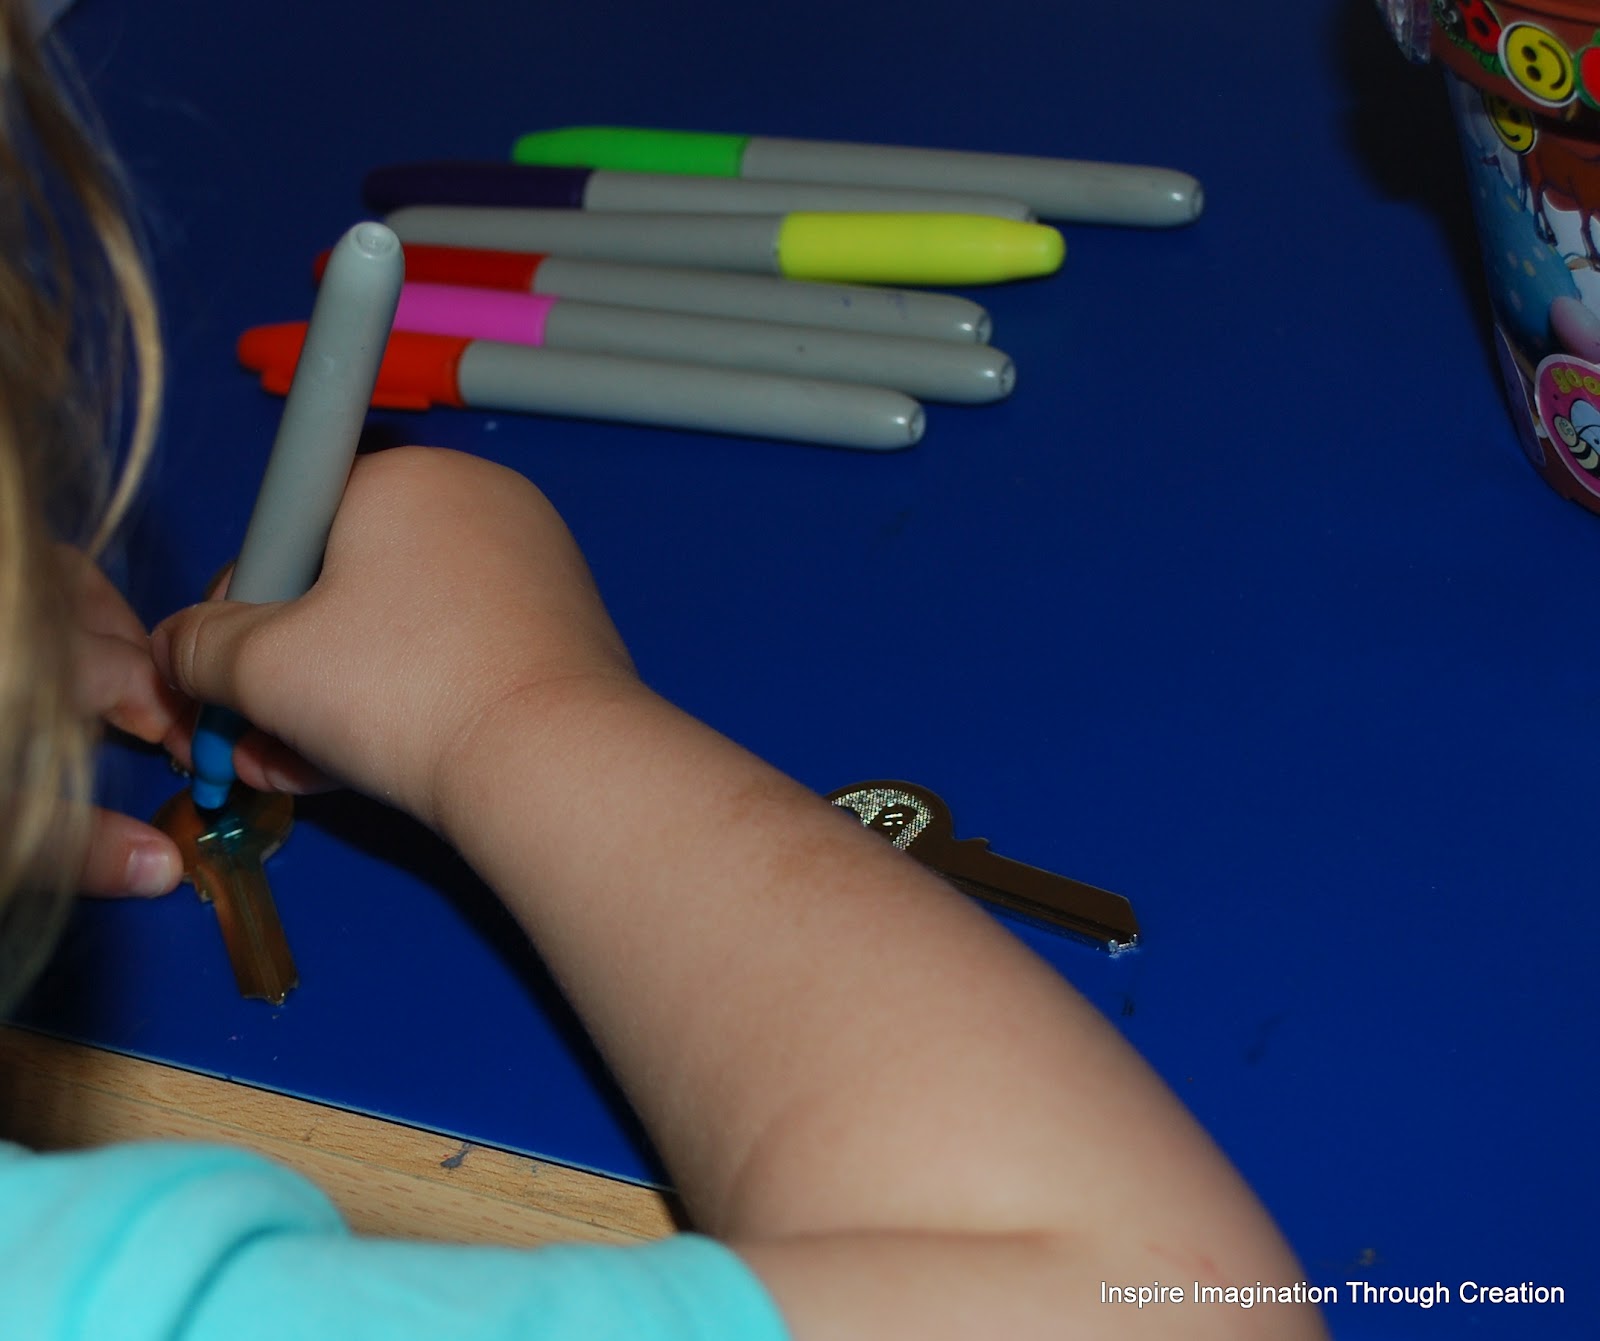
I then had inspiration we made the bottle tops pretty by putting stickers on them and the keys pretty by using  permanent markers to colour them in the room is well ventilated so we were OK to use them just be careful with clothes.


Little Boo threaded on the keys.  We could have used fishing line but I could not find it anywhere! so opted for some really bright wool and I am glad we did as it actually looks really pretty as well.

Little Boo threading with her glittery fingers!

Little Boo said "they make a noise Mommy" she really enjoyed just playing with the keys listening to the noise. 

I then used my Crop a Dile to make holes in the bottle tops then Little Boo helped me to thread them. We then threaded them into the holes at the bottom of the plant pot.  You have to make sure that they are evenly distributed.  Then place four holes in the top of the pot to hang the wind chime.  I hope that you like this they do sound really nice.


Friday, 29 June 2012

Making your own toy for threading


Little Boo loves threading and when I had some empty sellotape reels I decided to make a threading activity with them.  I painted the sellotape reels with acrylic paint and then used my  cropodile big bite to make the holes in the reels.


 I had already brought some shoelaces cheap so these were used to thread with.  Then all that was needed was to show Little Boo what to do with them. 


After a while we started to also add beads into the threading.  She really enjoyed this and it is a great way to up-cycle our sellotape reels.