Showing posts with label senses. Show all posts

Sunday, 14 October 2012

Nature tray (part two)


making faces with leaves


I just want to show you what we have been doing with the nature tray.  From our local toy library we have borrowed a light box this has been great fun to play with as the laminated leaves look amazing!

nature table contents on light box


Little Boo had fun moving them around then started to make faces.


 Then to count items. We also discussed all the colours that she could see.

From the toy library we borrowed an easi-scope this is a computerised microscope which is handheld it it is amazing and so easy to install onto the computer.  It allows you to take magnified images of the items .  Little Boo enjoyed this but I think that older children may like the activity more. Little Boo found it more interesting to look at her own skin and finger prints which show up really well using the easi-scope.

magnified image of pine cone
Pine cone

magnified image of pine cone
pine cone

conker husk magnified
conker husk 

feather magnified
feather

fir tree

feather

sycamore tree seed 

leaf


Little Boo enjoyed feeling all the objects and we discussed how they felt. She loves to watch how the sycamore tree seeds fall and calls them helicopters!

 We are now in the process of trying out craft ideas using the leaves.  We have made a start with our paper bag owls and making faces with the leaves. However there will be more...


Saturday, 13 October 2012

Our Nature Tray and walk (Part 1)

Autumn nature tray

I love the Autumn it is official before having Little Boo I would not have said this.  However, it is amazing when having a child how your outlook suddenly changes with certain things.  The dark nights, even though cold are a great excuse to snuggle up and read some books, the bad weather has turned us to cooking more (encouraging me to learn) as we need indoor activities. Then on the days the weather is not too bad it is a fine opportunity to splash in the muddy puddles, crunch in the leaves, look for wildlife and hunt for the prettiest leaf.

This is why I considered making a Nature tray.  When at school I can remember having a nature table. However, not having the room in our house for this I turned to making a nature tray less room required and it is portable.  The nature tray is actually a very cheap cat litter tray (do not worry it has never been used for this purpose) this tray has come in so useful for loads of activities and was only £1.99!

We collected the items on many nature walks (do not worry you will probably get some funny looks I know that we have).  The walk itself turned into a wonderful learning experience as Little Boo was talking about everything that she was seeing, smelling and hearing.  She loved feeling the fir trees that we came across.  We had a lengthy conversation about whether we could find Tree Fu Tom, needless to say we tried to find him but could not.  She started to suggest leaves that we should pick because they were, "pretty ones"  as well as finding the odd muddy puddle to jump in! Wellies are a great suggestion and a change of clothes :) Little Boo decided that she also wanted to hug trees something that made me laugh so of course she did it even more! all this fun and we did not have to pay anything, great!

A very brave squirrel coming to say hello 
For the nature tray we have loads of items we collected from our walks.   I have included printed activities that we can enjoy together that are Autumn inspired.  Here is where I got them from

Autumn photograph cards with this resource I just printed it smaller so that I could make cards instead of posters.  We have been using these to play matching games and used them to match with the items in the nature tray

Matching up the conker to the conkers card. 

So far We have only been able to find part of an acorn! 

Autumn counting sheet  Little Boo did really well with this worksheet.  I have placed the worksheet inside a plastic wallet and encouraged her to mark off as she counts them. I then help her to write the number.  The great thing is that the white board marker rubs off after so the sheet can be used many times.  This I found is a cheaper alternative to laminating or printing out the worksheet many times.


Autumn masks These masks are brilliant for playing with.  There is a hedgehog and a red and grey squirrel. Little Boo could not wait to play with them.

Autumn number trace  Again I have printed these smaller so that there were four to a page. I have laminated these and Little Boo has a white board marker to trace them.

Autumn colour in  Hopefully you all saw this link on the facebook page.  There are some lovely Autumn inspired colouring pages.


Autumn Leaves  These have been used to learn colours.  I have been encouraging Little Boo to hop skip and Jump to the colours that I say.  She then calls out the instructions for me and I get a mini work out as well!

I hope that you have enjoyed this post and that it has inspired you to go on a nature walk.


Tuesday, 21 August 2012

Paralympics- using our senses

We are really excited to think that the Paralympics is starting next week.  I sometimes feel like this event is rather miss looked and am pleased that this time around for the first time it will get full coverage on prime time television, so again we will have the opportunity to all be shouting, "go GB!"

This week we are exploring the Paralympic games in readiness for it to start on the 29th of August.  As you may be aware there are athletes within the Paralympics who are visually impaired, blind or Deaf. This is why today we have explored our senses with some games.  These are games that I used to play when I was at guides and we all loved them so it has been wonderful to share these games with Little Boo.

Fetch the key

For this game by keys where placed underneath Little Boos chair.  She was blind folded using a scarf.  The challenge was for me to then retrieve the keys without Little Boo pointing to where I was. The idea is that you can not rely on your sense of sight but have to really listen. I was surprised at how keen Little Boo was to play this but she loved it!

senses game


Guess the smell

This game was played with smelling and with tasting though:) Again Little Boo was blind folded and she had to try and guess the smell.  I only used items that I knew she liked and that I thought had quite a distinctive smell there are loads more items that could be suitable.  This game was really fun she enjoyed it even more when we could eat all the food afterwards! This was actually a really good game to encourage children to eat foods.  It was lovely that Little Boo was asking for more orange. 


senses game
Is it time for a picnic?


 Feely box 

I realise that I only shared this idea with you the other day but the possibilities are endless! We placed loads of food items in there from Little Boos Kitchen and she was able to name them. A fantastic way to learn words and relying on her sense of touch.

Here are some other posts that I have linked to the idea of senses

Anyone for ice cream - touching the play dough and the different fragrances used.
Making a wind chime   hearing the wind chime
Making a rain maker- hearing he rain maker
Our first expedience with water beads feeling the beads
ice cube art feeling he ice cubes
sweet shop  smelling the different scented play doughs.

I hope that you enjoy some of these activities and that it give you a chance to look back at some of the older posts.  Feel free to comment on the post if you have any games that you think would be fun to play.


Monday, 6 August 2012

Anyone for ice cream?


Today is our first day of our seaside theme! Due to this today we have been  thinking about ice cream after all  what seaside trip is complete without ice cream.  We have been playing with our home made play dough again all three different ones and made up some cloud dough ice cream.  I have made cloud dough before but saw baby oil on offer today so thought it was a great opportunity to revisit this idea it is fantastic like sand and malleable (your hands also feel amazing after playing with it). However, I have never before been successful in dying it but today I was.

How to make what we used 


To make the cloud dough

1 cup of flour (just get the cheap stuff)
baby oil keep on adding until the flour is able to be moulded I usually just grab a handful and squash it if it sticks then that is enough.  Sorry I can not be more accurate but I really did not measure it. 

To make chocolate moon dough - add coco powder as much as needed until you have a nice colour and smell
To make strawberry- add in food colouring gel (half tsp) this needs to really be rubbed in and strawberry essence
vanilla- add vanilla essence 

They all smell amazing! 

Our cones have been made from some cardboard spools that we got from the scrap store I also made up some more just using cardboard.  The image of the cone texture was found here .  I just wrapped the image around the spools and the cardboard and taped them into a sphere. 

Then we started to make our ice creams

The play dough was ready to be scooped up! 

Making Daddies Ice cream.  We used these spools from the Birmingham scrap store they were great to store the ice creams whilst they were being made.

"Here you go Daddy" 

The spools and card board cones

I was really pleased with how well the cloud dough went as well

All the different flavours 

pat it down 

Tap it out it sticks and you have your ice cream

All stored away for next time.

This was a great cheap activity to do I only buy the cheap flour when playing with it like this and had all the other ingredients in the house.  The cloud dough will last for ages just place it in a sealed container and you can play with it again. 

Sunday, 5 August 2012

Making a wind chime


Me and Little Boo have been busy today making a wind chime. I thought this would be a great idea as we have some old keys and had a BBQ for our wedding anniversary yesterday (5 years already!) so had lots of bottle tops to use up! I was unsure whether this would work out but have been happy with the results so we thought we would share it with you.

To do this activity you will need


  • A plastic plant pot with lots of holes in the bottom 
  • stickers and lots of them!
  • old keys 
  • bottle tops 
  • permanent markers 
  • wool or fishing line 
  • to make the holes in our tops we used my crop-a-dile  but you could use a hammer and nail

First we stuck loads of stickers all over the pot bearing in mind that the holes will be at the bottom of the wind chime.  I wish that I had initially covered the hole pot with some sparkly contact that I have this way none of the original brown would be showing but the result was still pretty.

The Little Boo wanted it sparkly, not being one to hinder her creative ideas we made up some sparkly glue and placed it all over the pot.  I later thought that this would probably help to seal the stickers to the pot.


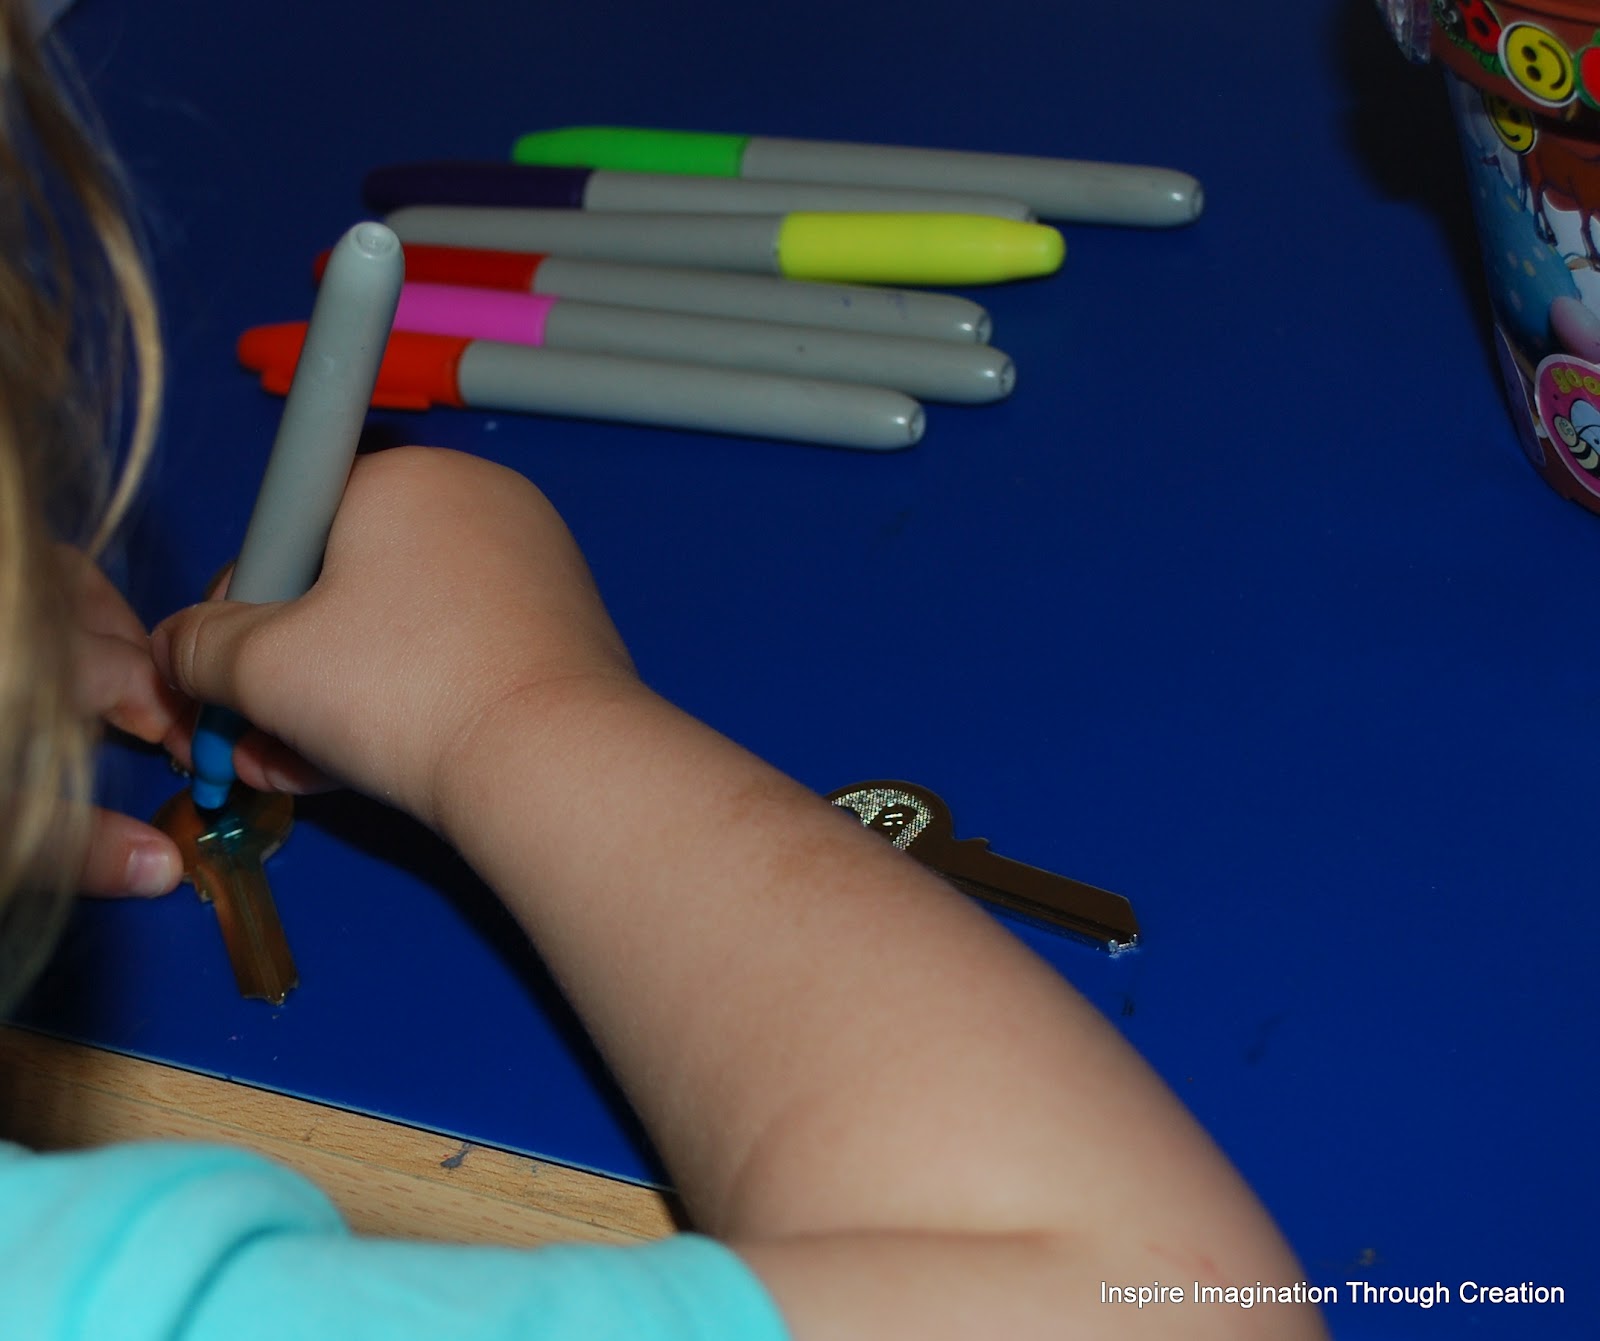
I then had inspiration we made the bottle tops pretty by putting stickers on them and the keys pretty by using  permanent markers to colour them in the room is well ventilated so we were OK to use them just be careful with clothes.


Little Boo threaded on the keys.  We could have used fishing line but I could not find it anywhere! so opted for some really bright wool and I am glad we did as it actually looks really pretty as well.

Little Boo threading with her glittery fingers!

Little Boo said "they make a noise Mommy" she really enjoyed just playing with the keys listening to the noise. 

I then used my Crop a Dile to make holes in the bottle tops then Little Boo helped me to thread them. We then threaded them into the holes at the bottom of the plant pot.  You have to make sure that they are evenly distributed.  Then place four holes in the top of the pot to hang the wind chime.  I hope that you like this they do sound really nice.


Tuesday, 31 July 2012

Two ways to make a rainmaker


This week the theme is weather and today we have made two different rainmakers. I decided to make this two different ways so that there is a way that is suitable to share with younger children.

The first method involves using panel pins.  To make this you need


  • Panel pins
  • A strong cardboard tube I used the one from our cling film
  • Strong paper 
  • Items to decorate such as stickers, papers, feathers, tissue paper, paints
  • Glue
  • Something to fill it with such as rice, lentils. 
To start with we hammered a lot of panel pins into the cardboard tube. The idea behind using the panel pins is that is slows down the filling making it sound more like rain.   I was a bit worried about doing this with Little Boo but she really enjoyed this bit as she thought she was Bob the builder.  I was really careful and held the hammer with her all the time (hence no photographs, sorry).  If you are concerned about using the hammer and pins (or do not have them in the house) please look at the second option.   Once we finished putting in our panel pins we placed paper one end then placed some lentils inside.  Then secured the other side

After adding the pins. 
Little Boo helping to put the lentils in.

 After this we stuck paper around the tube.  We used thick paper with one of Little Boos paintings on. When this dried I placed out loads of different items for Little Boo to use to decorate.

She loved this bit 


The second method you need 

  • Kitchen foil 
  • Two toilet rolls
  • Tape
  • Items to decorate such as stickers, papers, feathers, tissue paper, paints
  • Glue
  • Anything to fill it with such as rice or lentils


For this second method we taped two toilet rolls together (you could use more).  Little Boo then scrunched up the foil and I twisted into a coil shape. This was then inserted into the toilet roll.


Place the foil inside the toilet roll

You then repeat the steps as before by sealing the one end, placing in your filling then sealing the other end.  All that is left is to decorate!  We then ended up with two beautiful rainmakers Little Boo keeps calling them her magic wands.


Friday, 15 June 2012

Our first experience with waterbeads!


I have seen these waterbeads being used there are loads of ideas on pinterest and they looked amazing so I thought it was about time we had a go! The beads are advertised as being non toxic (however I still would not advise using them with children who still tend to try and eat things) they are also not harmful to the environment.  The waterbeads shown in the pictures cost me £1.98 as they were 99p for 10g on Amazon.

They come packed and are really small all you need to do is add them to water and watch them grow which is a great experience in itself.  Little Boo kept asking to look at them and was amazed watching them grow. 

Once they had soaked they were massive. Little Boo loved the feel of them and could not wait to get started with them. After a quick look in our up cycling bag I found plenty of interesting containers and items that could be used with the waterbeads.


I filled a small box with the beads to make a water themed play area.  Little Boo enjoyed putting the animals down the slide and the Waterbeads! They are really bouncy so that is also fun as Little Boo went chasing after them.


Filling up containers with the Waterbeads.
These beads are wonderful they feel really nice and have so many different uses.  We will definitely be exploring different ways of using them in  the future. If you have not yet used these then please have a go.