Showing posts with label cup puppet. Show all posts

Friday, 14 September 2012

Some paper cup puppets


We went to a local fun day and Jim the Maker was there again doing puppets. It was funny as the last time I saw him I was just starting off my blog with hardly any readers and no Facebook page. Made me realise how much the blog has developed especially when I go back and read the post!

Anyway this man is fantastic as he has loads of ideas we did a butterfly out of two paper cups this time which was great it has some wonderful connections to the hungry caterpillar. Little Boo loved doing this especially squashing the cups!


To make this you need

Two paper cups

They need to be stuck bottoms together then squashed.

cut the top of the cup to form antennae

After this cut into the cups to form wings

We then stuck stickers onto the butterfly to decorate it.

Add bamboo or a straw to the back of the butterfly to make it look like it is flying.

The instructions with images can also be found here

After doing this Jim showed us another really simple puppet using one paper cup. He discussed how the easy puppet is really helpful for developing fine motor skills as the child pinches the mouth part together. This was really simple to make as he just cut the cup from the top to the bottom.  The bottom section was shortened to make a chin. After this ring reinforcements were used as eyes and the top of the cup cut into to look like hair.  The image of this puppet it at the top of the post.


Shared on
Discover & Explore Weekly Themed Linky

Thursday, 9 August 2012

Four easy to make puppets


Puppet shows such as Punch and Judy are usually a common sight along the beach.  Unfortunately Little Boo really does not like Punch and Judy (I had to take her out of the puppet show the last time we saw it) so I decided today to do an alternative Punch and Judy and do some really simple puppet makes.  I said when I first started the blog that we wanted to do more puppets so revisited the fantastic on line resource  that we used back then for more inspiration. This activity has been great as Little Boo has really started to become confident at making even suggesting materials that we should use. 

Introducing our puppets Little Boo named them all 
 
Little Boo spoon fairy 

Daddy cup puppet 

Little bird puppet made from paper plates 

Little hand made from one of the many odd socks! 

Here is how we made them 

Cup puppet "Daddy"

We used two plastic cups for this luckily we had a BBQ the weekend and I kept all the plastic cups as I knew they would come in handy.  We covered the plastic cup in paper as then it is easier to stick all the items to it. We added all the facial features then all you need to do is place the cups together and place a bit of tape at the back. 


Adding the hair we just placed some double sided tape on top of the cup and could then just stick it on . 
 Paper plate puppet "Little Bird"

All is needed is one paper plate.  This needs to be cut in half.  Little Boo then decorated this


Once it is decorated it needs to be folded in the centre undo this fold then fold in towards the fold  that is in the centre.  Then glue the two flaps towards the centre ( I hope that the picture helps describing that is difficult!)

Little Boo cutting out some foam for the tongue

Playing with the puppet Little Boo telling him to be quiet.
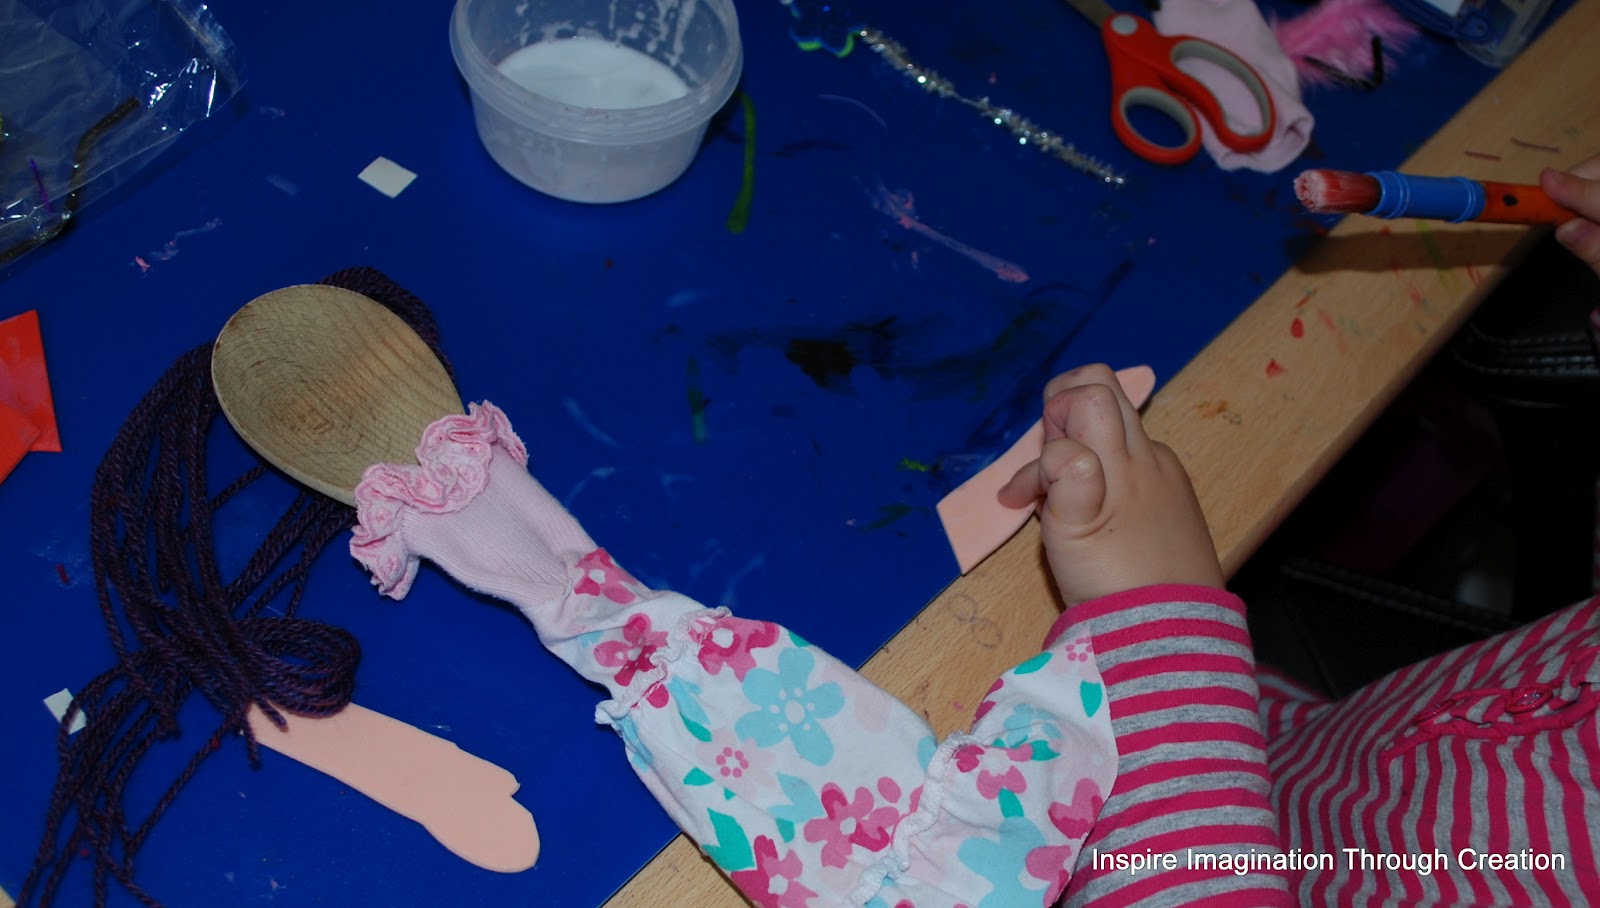
 Making a puppet spoon Fairy
Making the wings 

Cutting wool for the hair 

We added some up-cycled clothes and hands. We also needed a wand as well apparently

Sorry there are no pictures of the sock puppet being created. I placed it on my hand to make it easier for Little Boo to decorate this made taking pictures difficult though. 

We are going to be doing a puppet show with these when they have all dried tomorrow can not wait!