Showing posts with label weather. Show all posts

Tuesday, 11 September 2012

Our First morning board


As you may know I return to reality today preparing myself to juggle being a Mom, Wife and going back to work and university.  It is all good fun though I would not have it any other way, it keeps me on my toes!

I started thinking about how unorganised I am in the mornings that I go to work and have decided I am going to start fresh and will MAKE time for me and Little Boo to at least have 10 minutes to spare in which we can sit together.  This was all inspired by the Take 10 Blog.  I love the idea behind this blog just taking out 10 minutes to share an activity with your child even in the busiest of days.

This then made me consider the morning board idea.  As this is an activity that we can do each morning together that is easy, it will not leave the house in a complete mess to return to after work and it is teaching Little Boo so many things in a fun way.  Not to mention that I have LOVED making it!

Little Boo chose her own colour card for the project (which I backed with a piece of foam board) and then I told her that "Mommy was going to make her something special for her room". I first of all had a look around at the pinned Morning boards on Pinterest and Google.  I came across some great resources at Confessions of a Homeschooler (this women is amazing and always has fantastic printable's) I chose the today tomorrow and yesterday printable from here .


There are loads more printable's that are great which I think I will use when Little Boo is a bit older. The seasons wheel I found from a lucky Google search which I pinned .  I then made an arrow for it and used a split pin so it could be turned.  I like this image as Little Boo can see the months that are in each season.

For the weather I have made simple felt representations of each type of weather. In the morning Little Boo can chose the correct ones. I feel that this will also be a really good discussion point which I could start to extend to what sort of clothes she should wear that are appropriate for the weather.


The dates and heading I did myself on the computer using Comic sans font as I think this font is clear to read.  Here is the download version if anyone wants to save some time :) or would just like some months and days flash cards. Morning Board Months


Banner for Morning Board


The days of the week and months I have linked together using cheap keyring rings .  These have worked fine and are a cheap alternative to the scrapbook rings that can be brought.  The hooks were just cheap self adhesive plastic ones which were about 50p for five. The numbers I decided to do single as this will assist Little Boo with her number recognition.  I  feel that asking her to recognise the number 20 at present is a bit too much but to get her to find a 2 on the one set then a 0 on the other is more relevant to her development and will hopefully start to reinforce that bigger numbers are made from smaller ones.  May I point out this is all trial and error and I am hopeful that it will work. Watch this space... 


Needless to say that Little Boo loves her new Morning Board especially the fact that the seasons has a "spinney thing".  I realise that at present it is quite basic but I think that this will be an item that we continue to make which will grow with her interests and development. 


Sunday, 5 August 2012

Making a wind chime


Me and Little Boo have been busy today making a wind chime. I thought this would be a great idea as we have some old keys and had a BBQ for our wedding anniversary yesterday (5 years already!) so had lots of bottle tops to use up! I was unsure whether this would work out but have been happy with the results so we thought we would share it with you.

To do this activity you will need


  • A plastic plant pot with lots of holes in the bottom 
  • stickers and lots of them!
  • old keys 
  • bottle tops 
  • permanent markers 
  • wool or fishing line 
  • to make the holes in our tops we used my crop-a-dile  but you could use a hammer and nail

First we stuck loads of stickers all over the pot bearing in mind that the holes will be at the bottom of the wind chime.  I wish that I had initially covered the hole pot with some sparkly contact that I have this way none of the original brown would be showing but the result was still pretty.

The Little Boo wanted it sparkly, not being one to hinder her creative ideas we made up some sparkly glue and placed it all over the pot.  I later thought that this would probably help to seal the stickers to the pot.


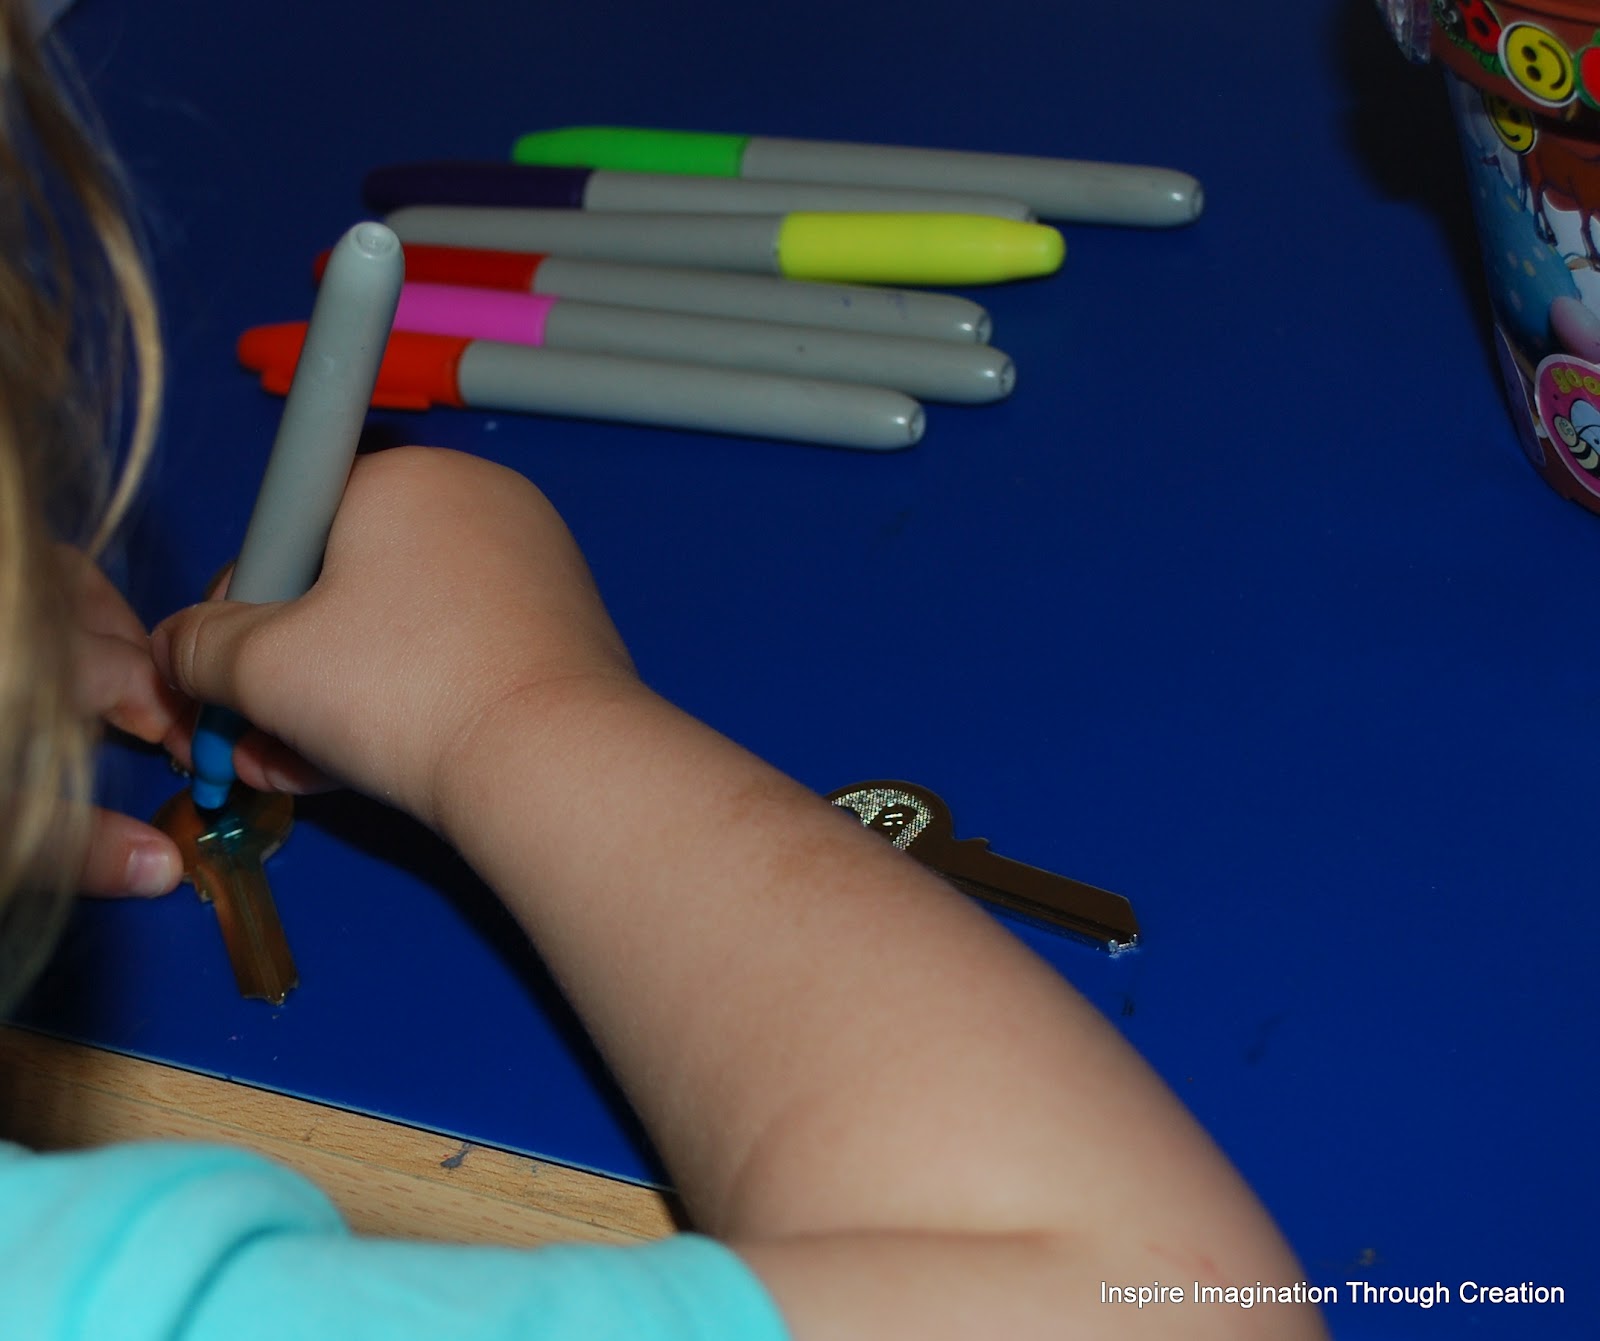
I then had inspiration we made the bottle tops pretty by putting stickers on them and the keys pretty by using  permanent markers to colour them in the room is well ventilated so we were OK to use them just be careful with clothes.


Little Boo threaded on the keys.  We could have used fishing line but I could not find it anywhere! so opted for some really bright wool and I am glad we did as it actually looks really pretty as well.

Little Boo threading with her glittery fingers!

Little Boo said "they make a noise Mommy" she really enjoyed just playing with the keys listening to the noise. 

I then used my Crop a Dile to make holes in the bottle tops then Little Boo helped me to thread them. We then threaded them into the holes at the bottom of the plant pot.  You have to make sure that they are evenly distributed.  Then place four holes in the top of the pot to hang the wind chime.  I hope that you like this they do sound really nice.


Wednesday, 1 August 2012

Let's go fly a kite


Today we have been thinking again about weather and focusing on wind.  We have therefore made the most simple kite but Little Boo loved making it then playing with it in the house!

All you need is


  • Paper bag 
  • Lolly stick 
  • wool 
  • decorative items such as paper, stickers, sequins, felts and stamps. 
  • Glue
  • scissors (if you wish this to be an exercise for practising cutting)
  • Ribbon or crepe paper
Here is how we made ours 

Decorate the bag however you like

Little Boo is LOVING cutting everything at the moment so this was a great activity to practise! 


Place a hole in the bottom of the bag in the centre.  I did this by folding the bag and punching half a hole. 


wrap some wool around a lolly pop stick and secure with tape on the stick, then thread through the hole. (the lolly pop stick just helps to reinforce and secure the wool)


We then placed some ribbon on the top of the bag just to make it look extra pretty! you can also use crepe paper. 


All that is left is to fly your kite! 


Hope that you enjoy making these we hoped to go outside and play with this afterwards but it started to rain really badly so played in the house instead.  Hope we can go outside and play tomorrow.