

Me and Little Boo have been busy today making a wind chime. I thought this would be a great idea as we have some old keys and had a BBQ for our wedding anniversary yesterday (5 years already!) so had lots of bottle tops to use up! I was unsure whether this would work out but have been happy with the results so we thought we would share it with you.
To do this activity you will need
- A plastic plant pot with lots of holes in the bottom
- stickers and lots of them!
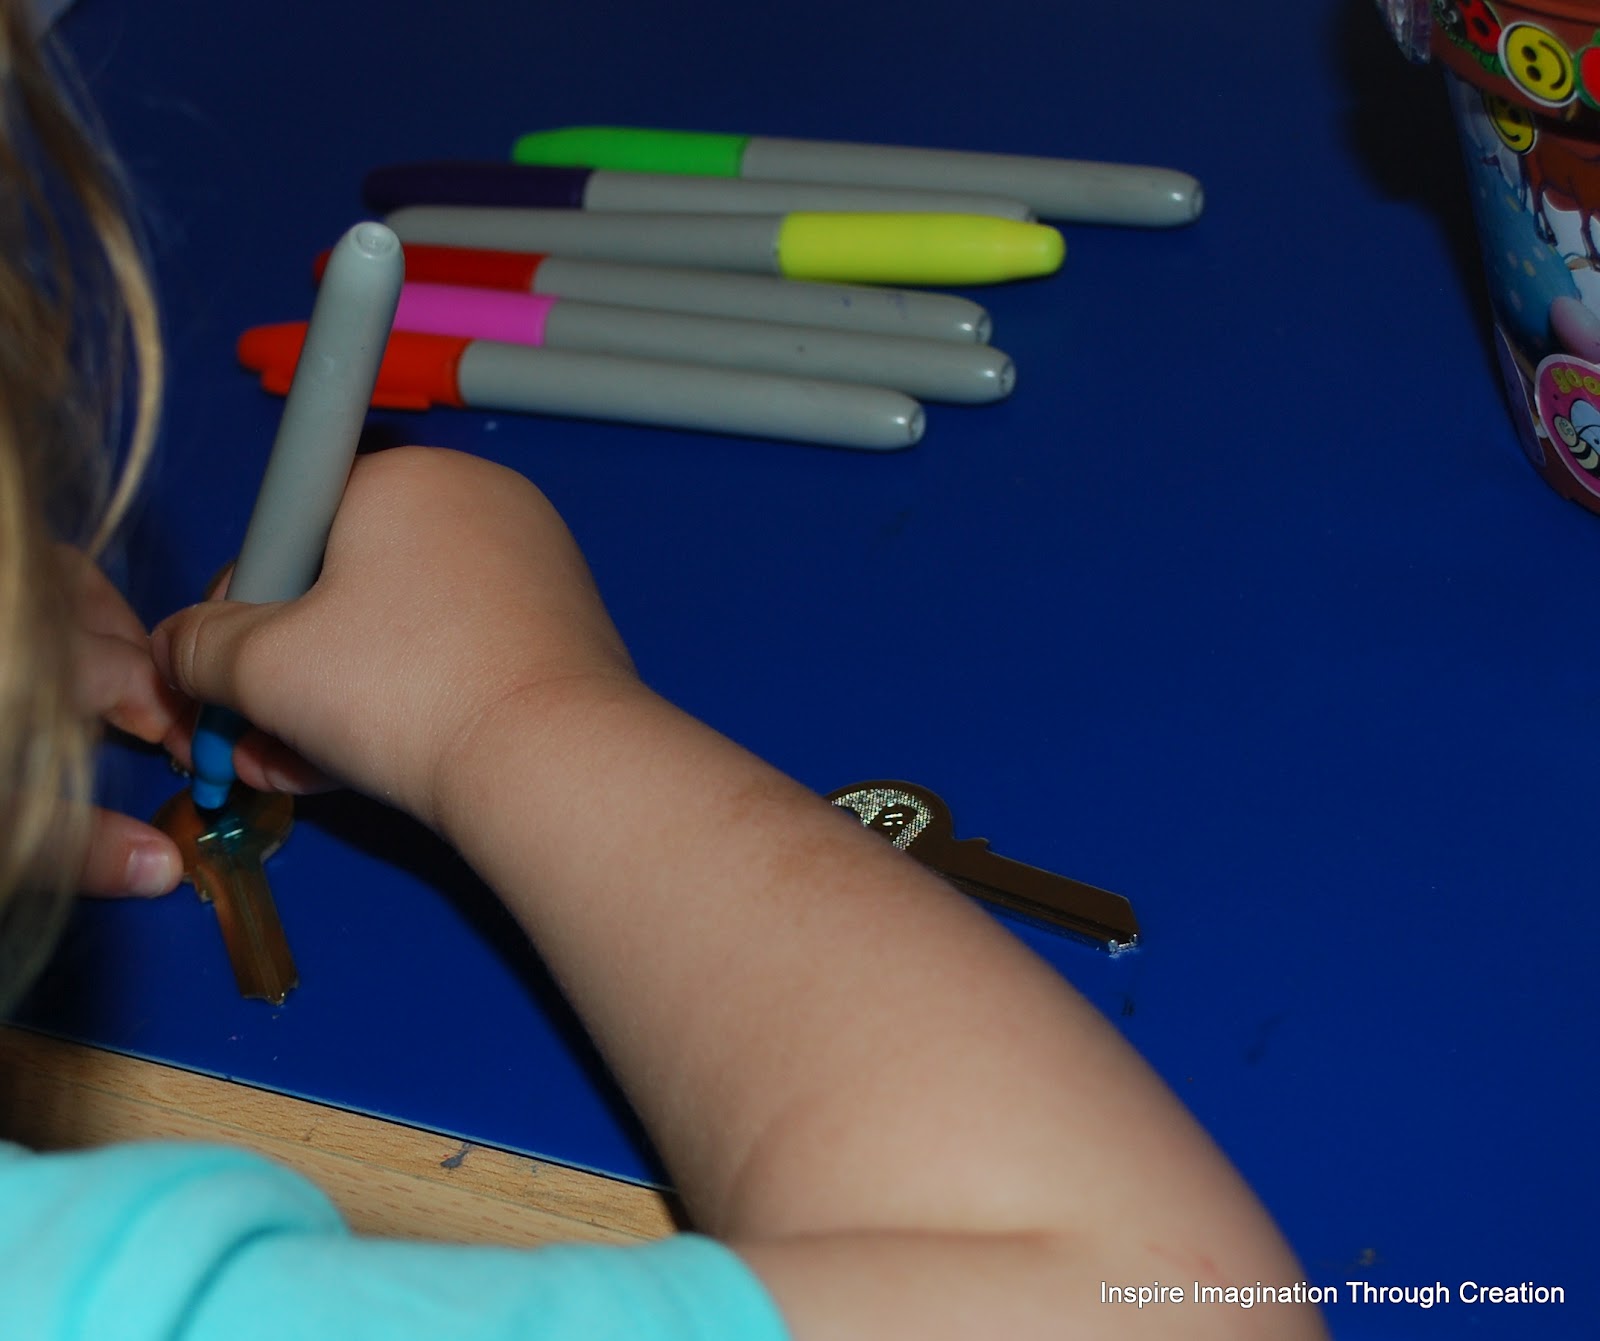
- old keys
- bottle tops
- permanent markers
- wool or fishing line
- to make the holes in our tops we used my crop-a-dile but you could use a hammer and nail
First we stuck loads of stickers all over the pot bearing in mind that the holes will be at the bottom of the wind chime. I wish that I had initially covered the hole pot with some sparkly contact that I have this way none of the original brown would be showing but the result was still pretty.

The Little Boo wanted it sparkly, not being one to hinder her creative ideas we made up some sparkly glue and placed it all over the pot. I later thought that this would probably help to seal the stickers to the pot.

 |
| Little Boo threading with her glittery fingers! |
Little Boo said "they make a noise Mommy" she really enjoyed just playing with the keys listening to the noise.


You had created really a darling type of wind chimes
ReplyDeletehttp://www.home2garden.co.uk/acatalog/Online_Catalogue_Wind_Chimes_12.html
Thank you I was really pleased with how it turned out.
DeleteI love your project! I love that your kiddo was able to do most of the project herself =-) Such a creative idea. I am featuring this at TGIF this week: http://www.livinglifeintentionally.blogspot.com/2012/08/tgif-linky-party-42.html - Thanks for linking up to TGIF & I look forward to seeing you again this week,
ReplyDeleteBeth =-)
Thank you for your comment sorry it has taken me ages to reply. I have changed my settings so that I am more aware of the mew comments that are submitted. Thank you for the feature I hope that you also like this weeks links :)
DeleteFun idea! I just pinned it.
ReplyDeleteThank you for the pin! I love Pinterest slightly addicted. It was so easy to do and is now hanging proudly in my study always cheers me up when I hear it.
Delete